
Welcome to Week 2, Day 4 of #30DaysOfSWA!!
Today's a special day - the 1 year anniversary of Azure Static Web Apps!
Happy Birthday SWA! 🎂
I wanted to do something special to celebrate - and I thought of just the thing! Let's create a content-focused static website with Docusaurus and deploy it using Azure Static Web Apps. Want to get a sense of what kinds of static sites you can build with Docusaurus? Check out their showcase!
Why this demo today? Well, it's very Meta (pun intended). You may have noticed that the #30DaysOfSWA website is built on Docusaurus. 🦖
By sharing this tutorial, I'm hoping it inspires more of you to build/deploy sites that showcase your own tech journeys - whether its with #30Days of learning, or to feature your #100Devs portfolios. #LetsGetStarted! 🎉
What We'll Cover
- Intro: What is Docusaurus?
- Quickstart: setup classic site
- Configure:
docusaurus.config.js - Deploy: Azure Static Web Apps
- Customize: Themes & Plugins
- Exercise: Try extending the demo further
About the Demo
In today's tutorial, we'll create a classic Docusaurus site, deploy it to Azure Static Web Apps, then make some changes to the site content to validate that it rebuilds and deploys the site without any further manual effort from us. I hope to also contribute this back to the Docusaurus docs as an example for Deploying to Azure - feedback to improve this is very welcome!
- 🌟 The tutorial source is here on GitHub - I'll update that version over time.
- 🎉 See the site live on Azure Static Web Apps - for demo purposes only.
What is Docusaurus?
Docusaurus is an open-source project from Meta that helps you build, deploy, and maintain, open source project websites. It was rated one of the top 3 rising stars of JavaScript in 2021, under the static site generators category. It has a number of features that made it attractive:
- It has built-in support for search, localization and versioning
- It support MDX (JSX-flavored Markdown) for richer content options
- It has built-in support for themes and plugins to enhance default behaviors
- It is built with React, making it extensible with custom components
Read their documentation & visit their showcase to see real-world examples. Now, let's dive into our tutorial for building the demo.
1. Setup Site
- Setup a Docusaurus site (
classictheme) in a dedicated folder (www) in repo. The command automatically installs the required packages and their dependencies.
npx create-docusaurus@latest www classic
- Let's see what was created for us. The output has been cleaned up for clarity.
ls -l www/

README.md
babel.config.js
blog/
docs/
docusaurus.config.js
node_modules/
package-lock.json
package.json
sidebars.js
src/
static/
- Let's preview the site locally, to validate this worked.
cd www
npx docusaurus start

[INFO] Starting the development server...
[SUCCESS] Docusaurus website is running at http://localhost:3000/.
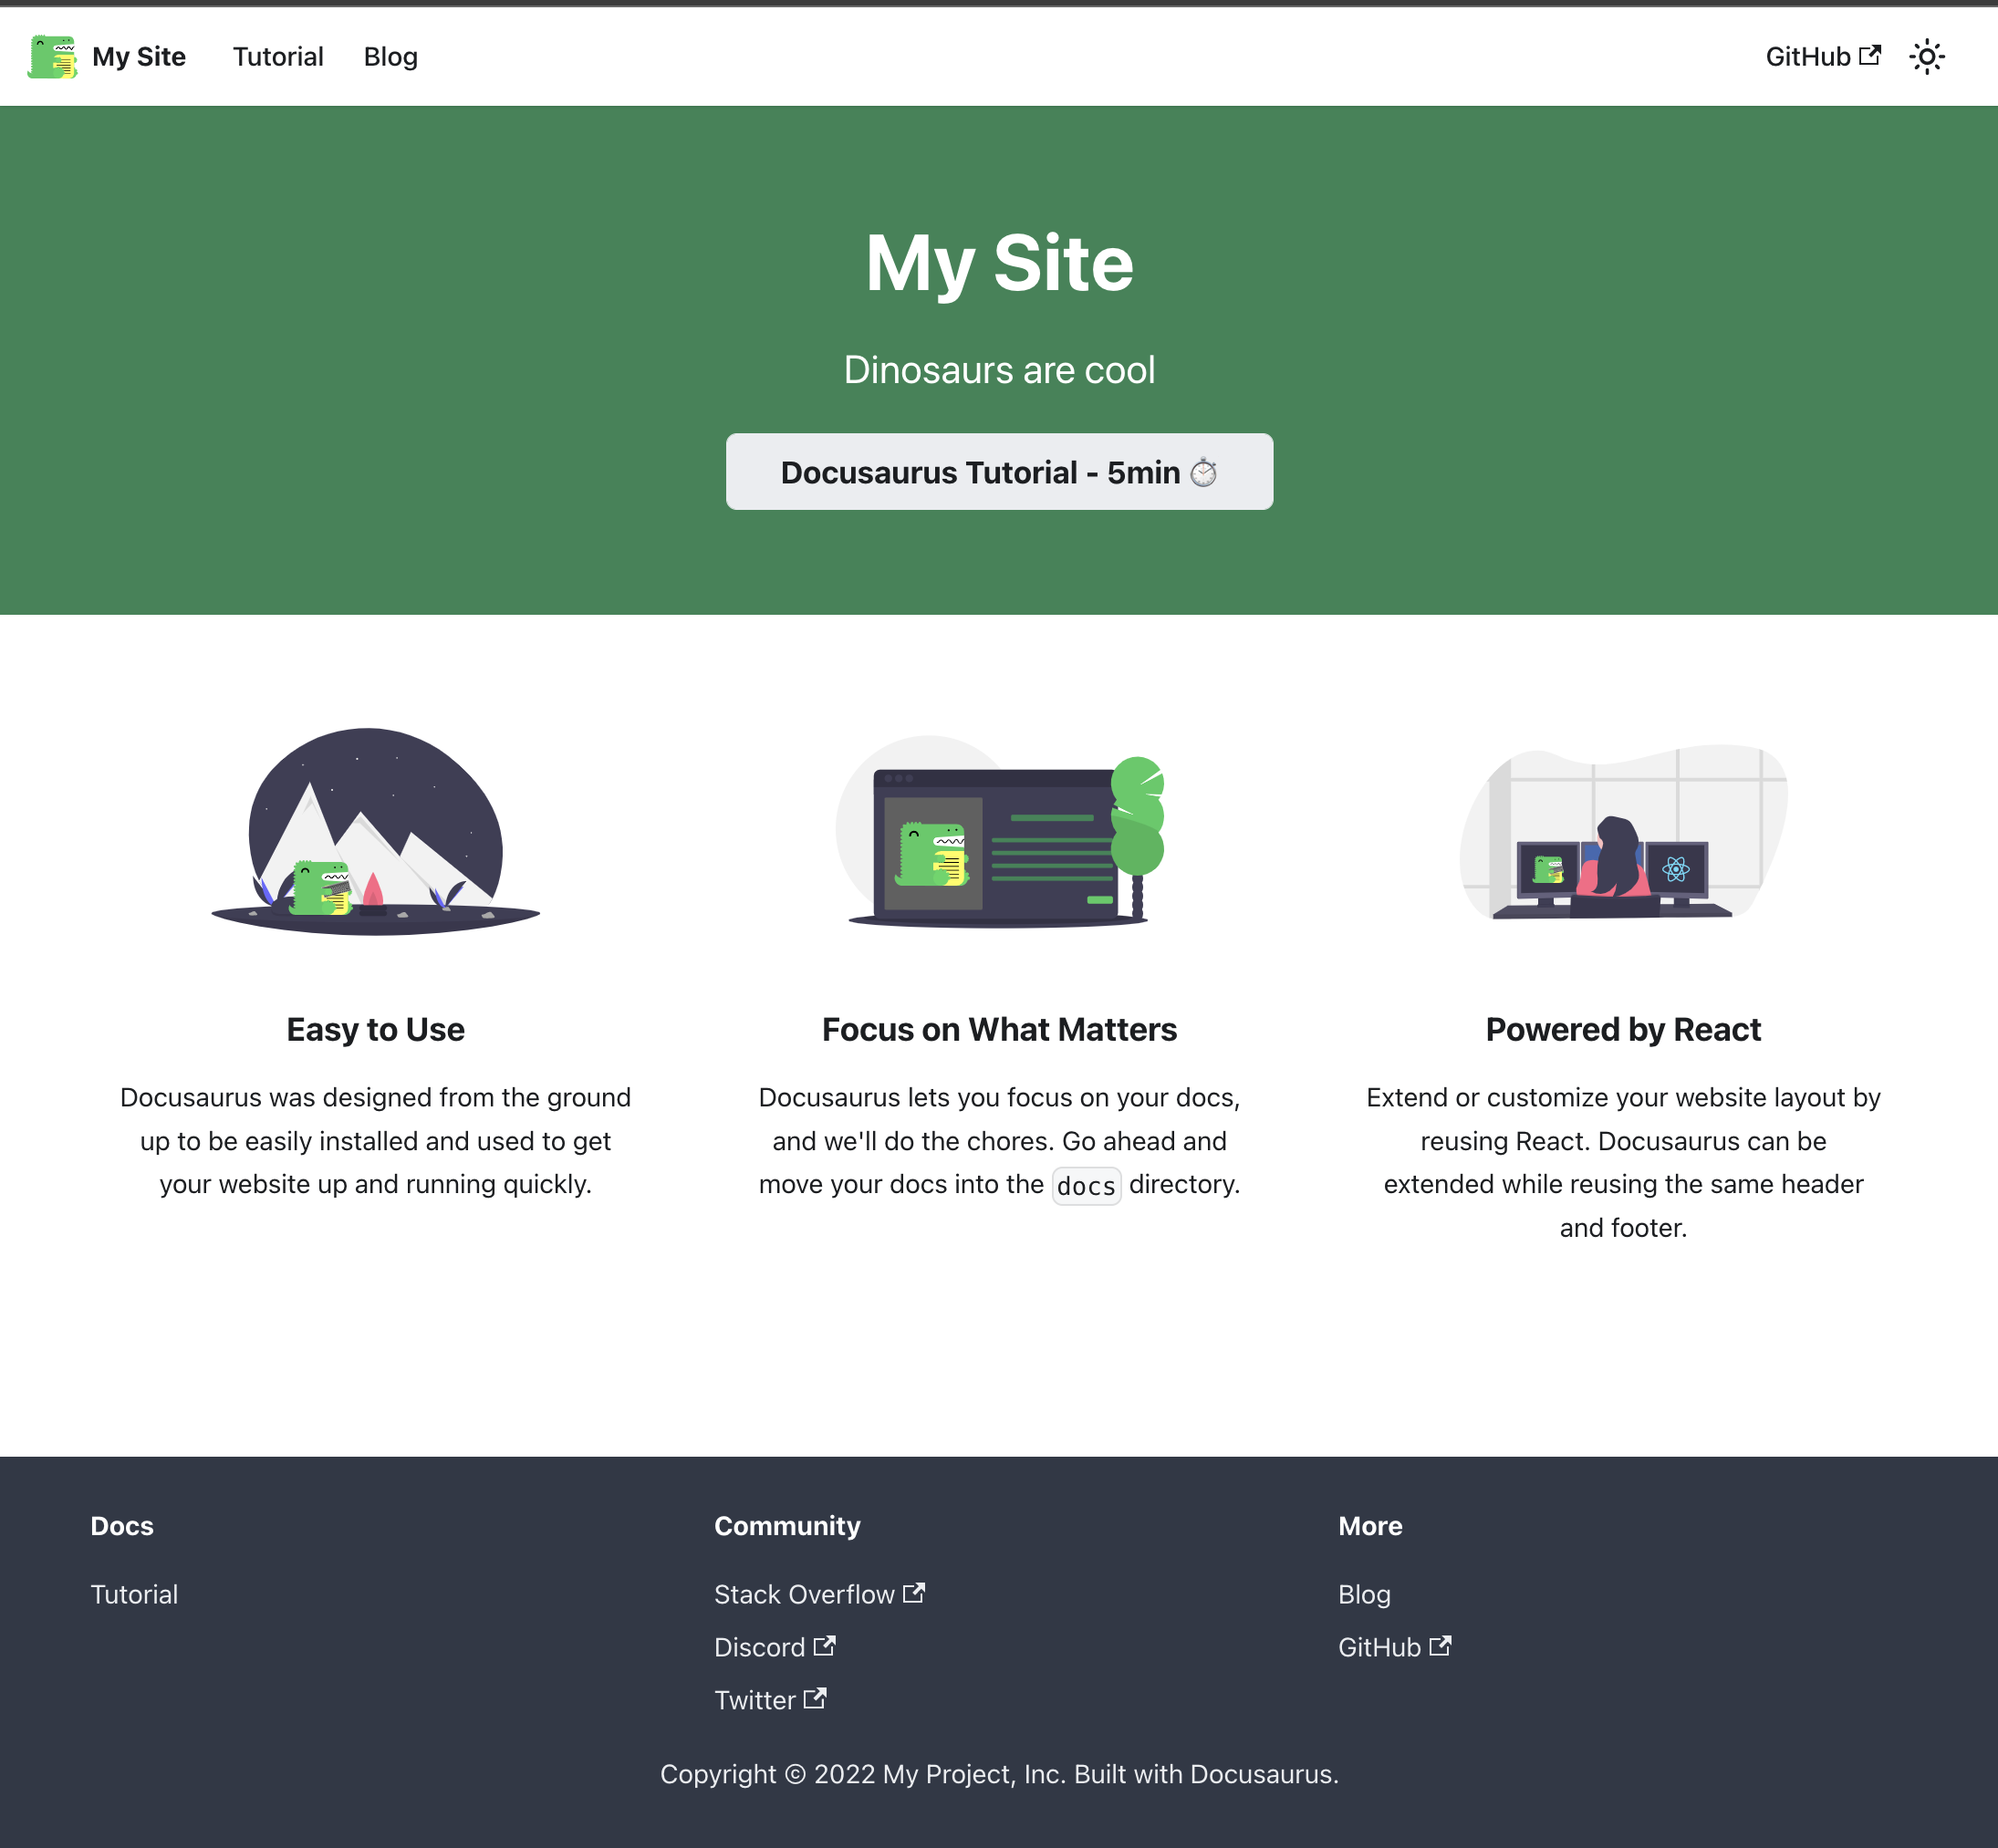
You should see something like this - this is the default landing page for the scaffolded Docusaurus site.
- The dev server supports hot reloading. Try making a minor change to the site source - for example edit
docusaurus.config.jsand change thetitleto "My Static Web Apps Site". You should see this in your site preview, instantly:

- You can now build a production-ready version of that site as follows. Note that the static files are generated in the build/ directory.
cd www/
npm run build
..
..
[SUCCESS] Generated static files in "build".
[INFO] Use `npm run serve` command to test your build locally.
2. Deploy To Azure
Docusaurus is built using React - so you can use the same configuration settings for Docusaurus, when deploying to Azure Static Web Apps.
You have three options to get started:
- via browser with the Azure Portal quickstart
- via terminal with the Azure CLI quickstart
- via IDE with the VS Code Extension quickstart
If you prefer the first approach, click the button to go to the Azure portal, then follow the quickstart guidance, but using this project's details instead.
3... using VS Code
I'll use the Visual Studio Code extension to make this happen with just a few clicks.
The whole process happens within the VS Code window, and takes just a few minutes from start to finish - with guided prompts to help all the way. For convenience, I've documented it step-by-step with screenshots (images valid for VS Code ver 1.66.2).
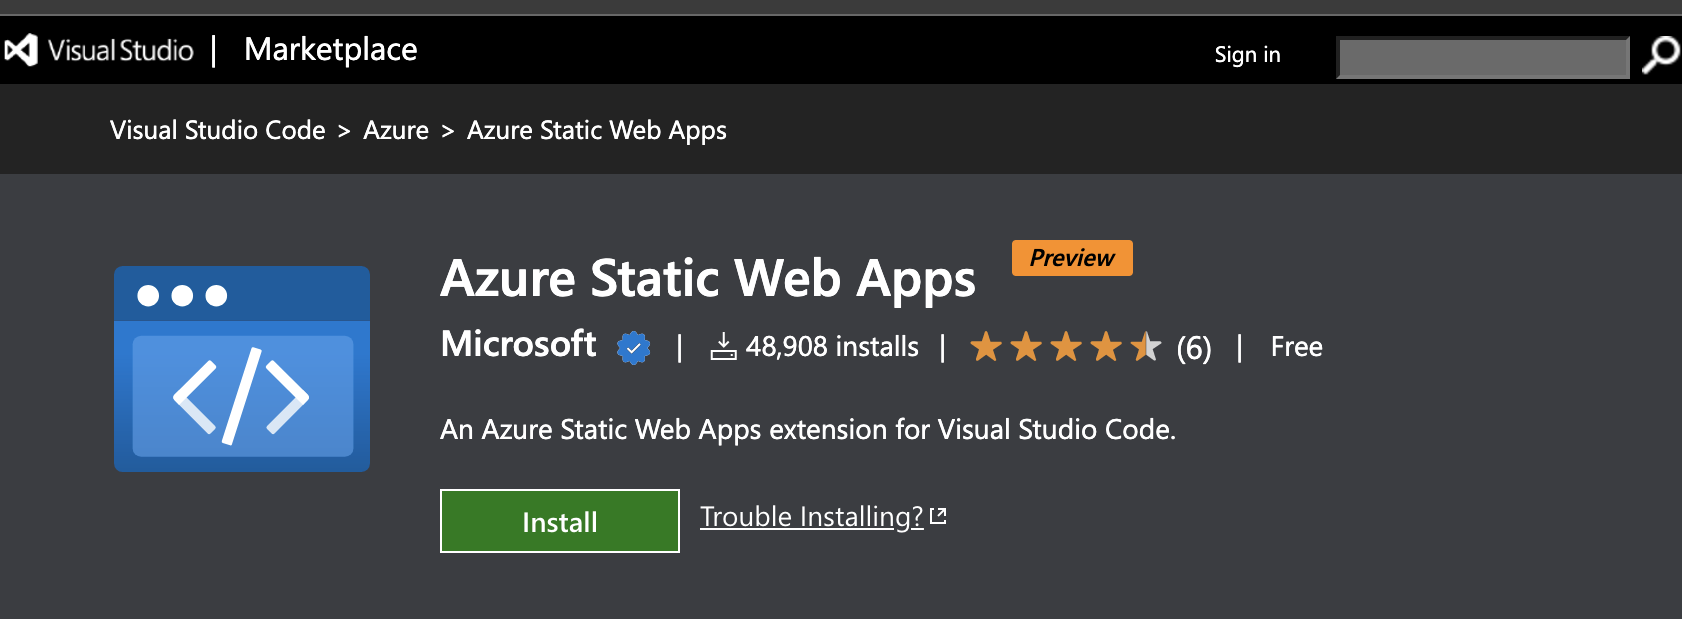
3.1 Install Extension
Open Visual Studio Code (IDE) in the project folder for your repo. Install the Azure Static Web Apps extension by visiting this page and clicking "Install".
3.2. Find SWA Panel
When extension is installed, you should see this window in your VS Code editor, confirming readiness for use.
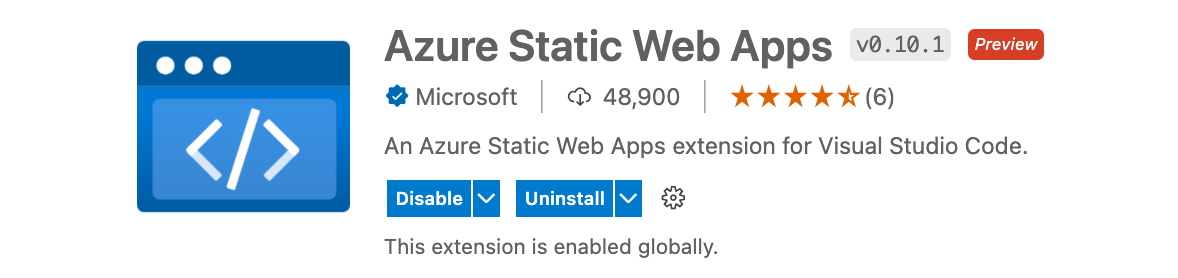
You'll find the Azure Static Web Apps options listed in a section under "Azure".
The extension's documentation page and its GitHub page both provide detailed walkthroughs - check those for the most current process for this. We'll start by clicking the Azure icon in the VS Code sidebar, then scrolling down till we see this Static Web Apps section.
3.3 Create SWA
Click the "+" button to start the Create Static Web App workflow.
![]()
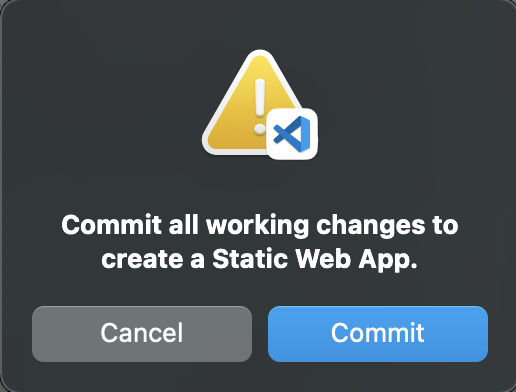
The "Create Static Web Apps" process will create (and commit) a GitHub actions workflow for you that will automate the build/deploy process for your site directly from your source on all future codebase changes.
So if you have current pending codebase changes it will first prompt you to commit them before it does its magic! Let's get that done!
3.4 Configure SWA
The extension walks you through the five steps shown below, each with defaults already filled in for you. Customize them as shown, for this project:
| Screenshot | Step |
|---|---|
 | Specify project name |
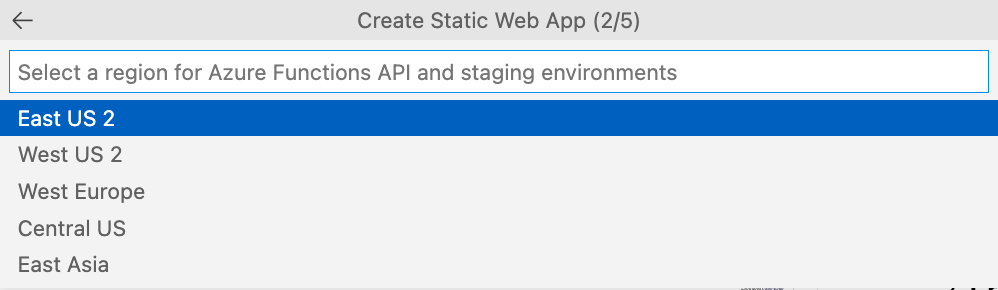 | Pick Azure region to deploy it in |
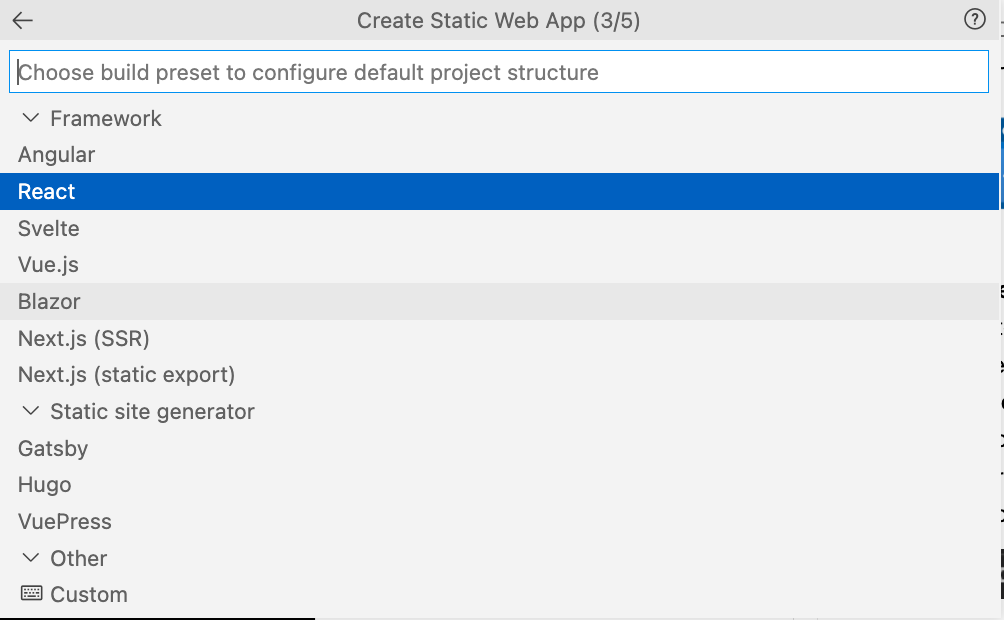 | Pick framework used by app |
 | Specify folder contaning site source |
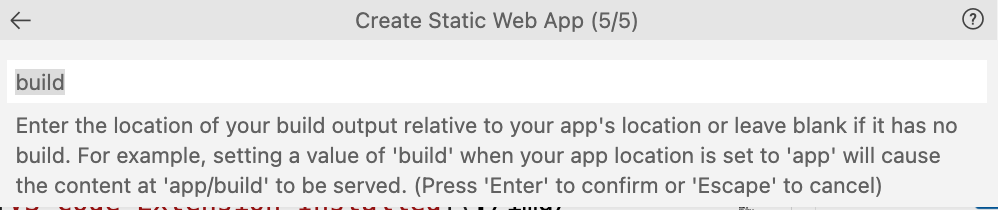 | Specify folder where site gets built by default |
3.5 Track Progress
In a few seconds, you'll see this alert - this indicates that the workflow is creating and committing the GitHub Actions build/deploy workflow YAML for you. 🎉
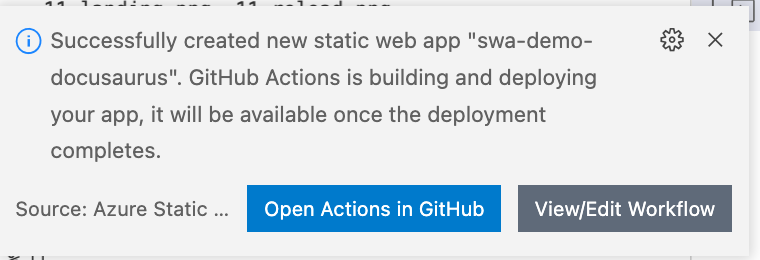
If you check your repository right now, you'll find the relevant commit and the activated Actions flow (labeled ci: add Azure Static Web Apps worfklow) in progress.
You can also track the progress and configuration settings of your app right there in the VS Code Sidebar, under the Static Web Apps section. Look for the project name, and unroll contents..

3.6 Browse Site!
In a few second more, you'll get this alert:
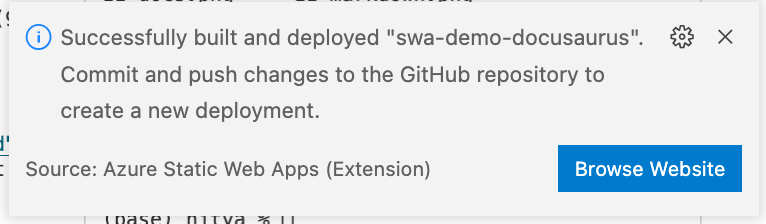
Now, go to the sidebar section for your project, right-click the name to see the available menu options:
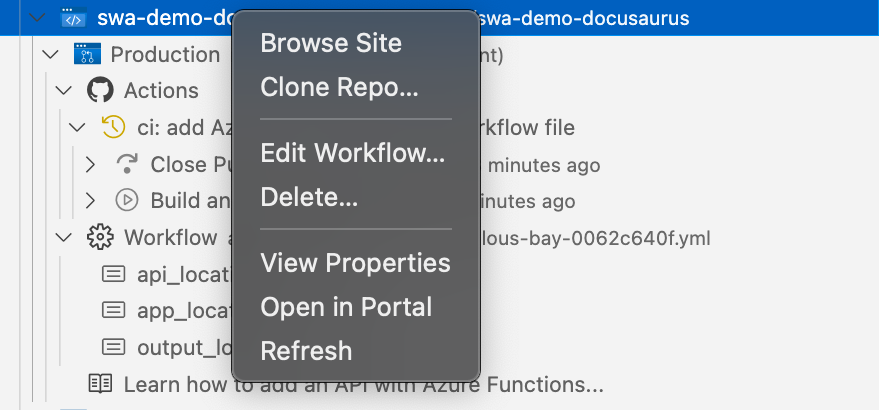
Click "Browse Site" to be taken to your live deployed Docusaurus website! That's it! A few clicks, customizing defaults - and you're done!
4. Customize It!
At this point, you can make any changes to the site source, commit them - and watch the site get rebuilt and deployed without any further action from you!
Here are some things to try:
- Customize styles or layout
- Explore plugins for SEO, Search etc.
- Try create/use MDX in content
I made a few example changes to the docusaurus.config.js file to personalize the landing page content to reflect my needs.
And I updated the src/css/custom.css file to reflect new theme colors for dark/light mode - and replaced the logo.svg file.
Committing these changes should automatically rebuild and update the deployed site. Here is what they looked like in my local preview, before I committed the changes.
| Light Mode | Dark Mode |
|---|---|
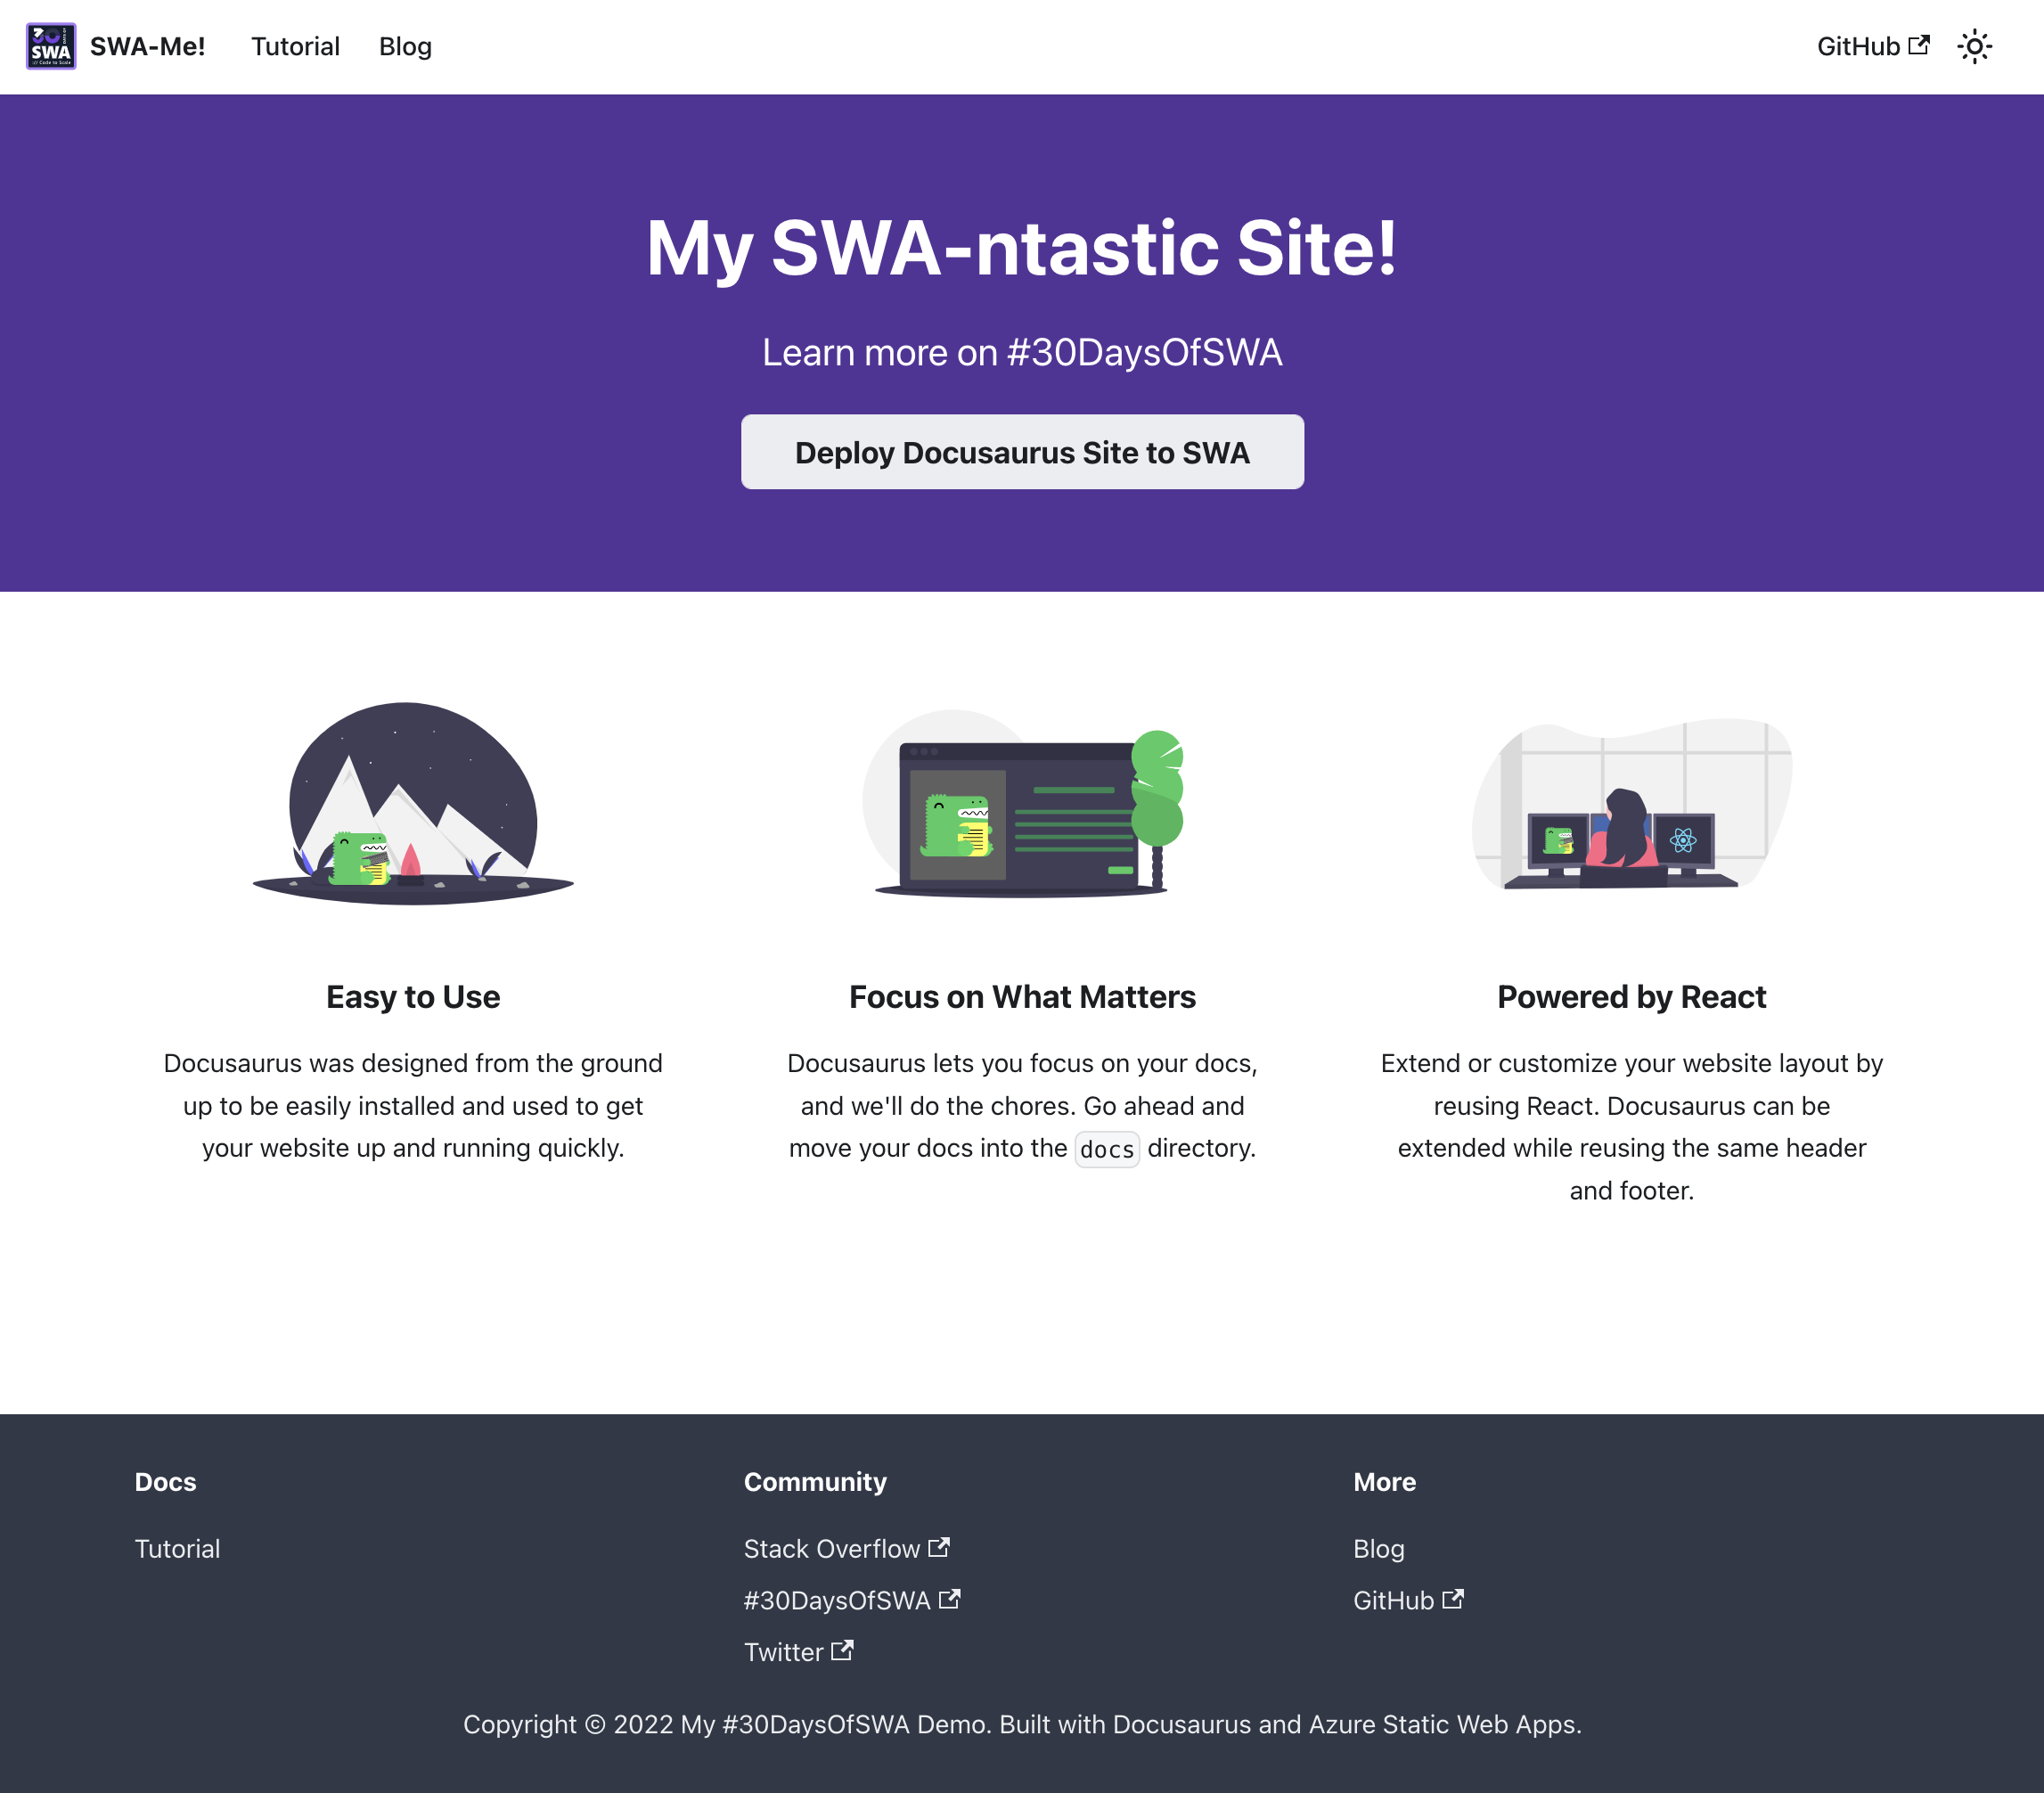 | 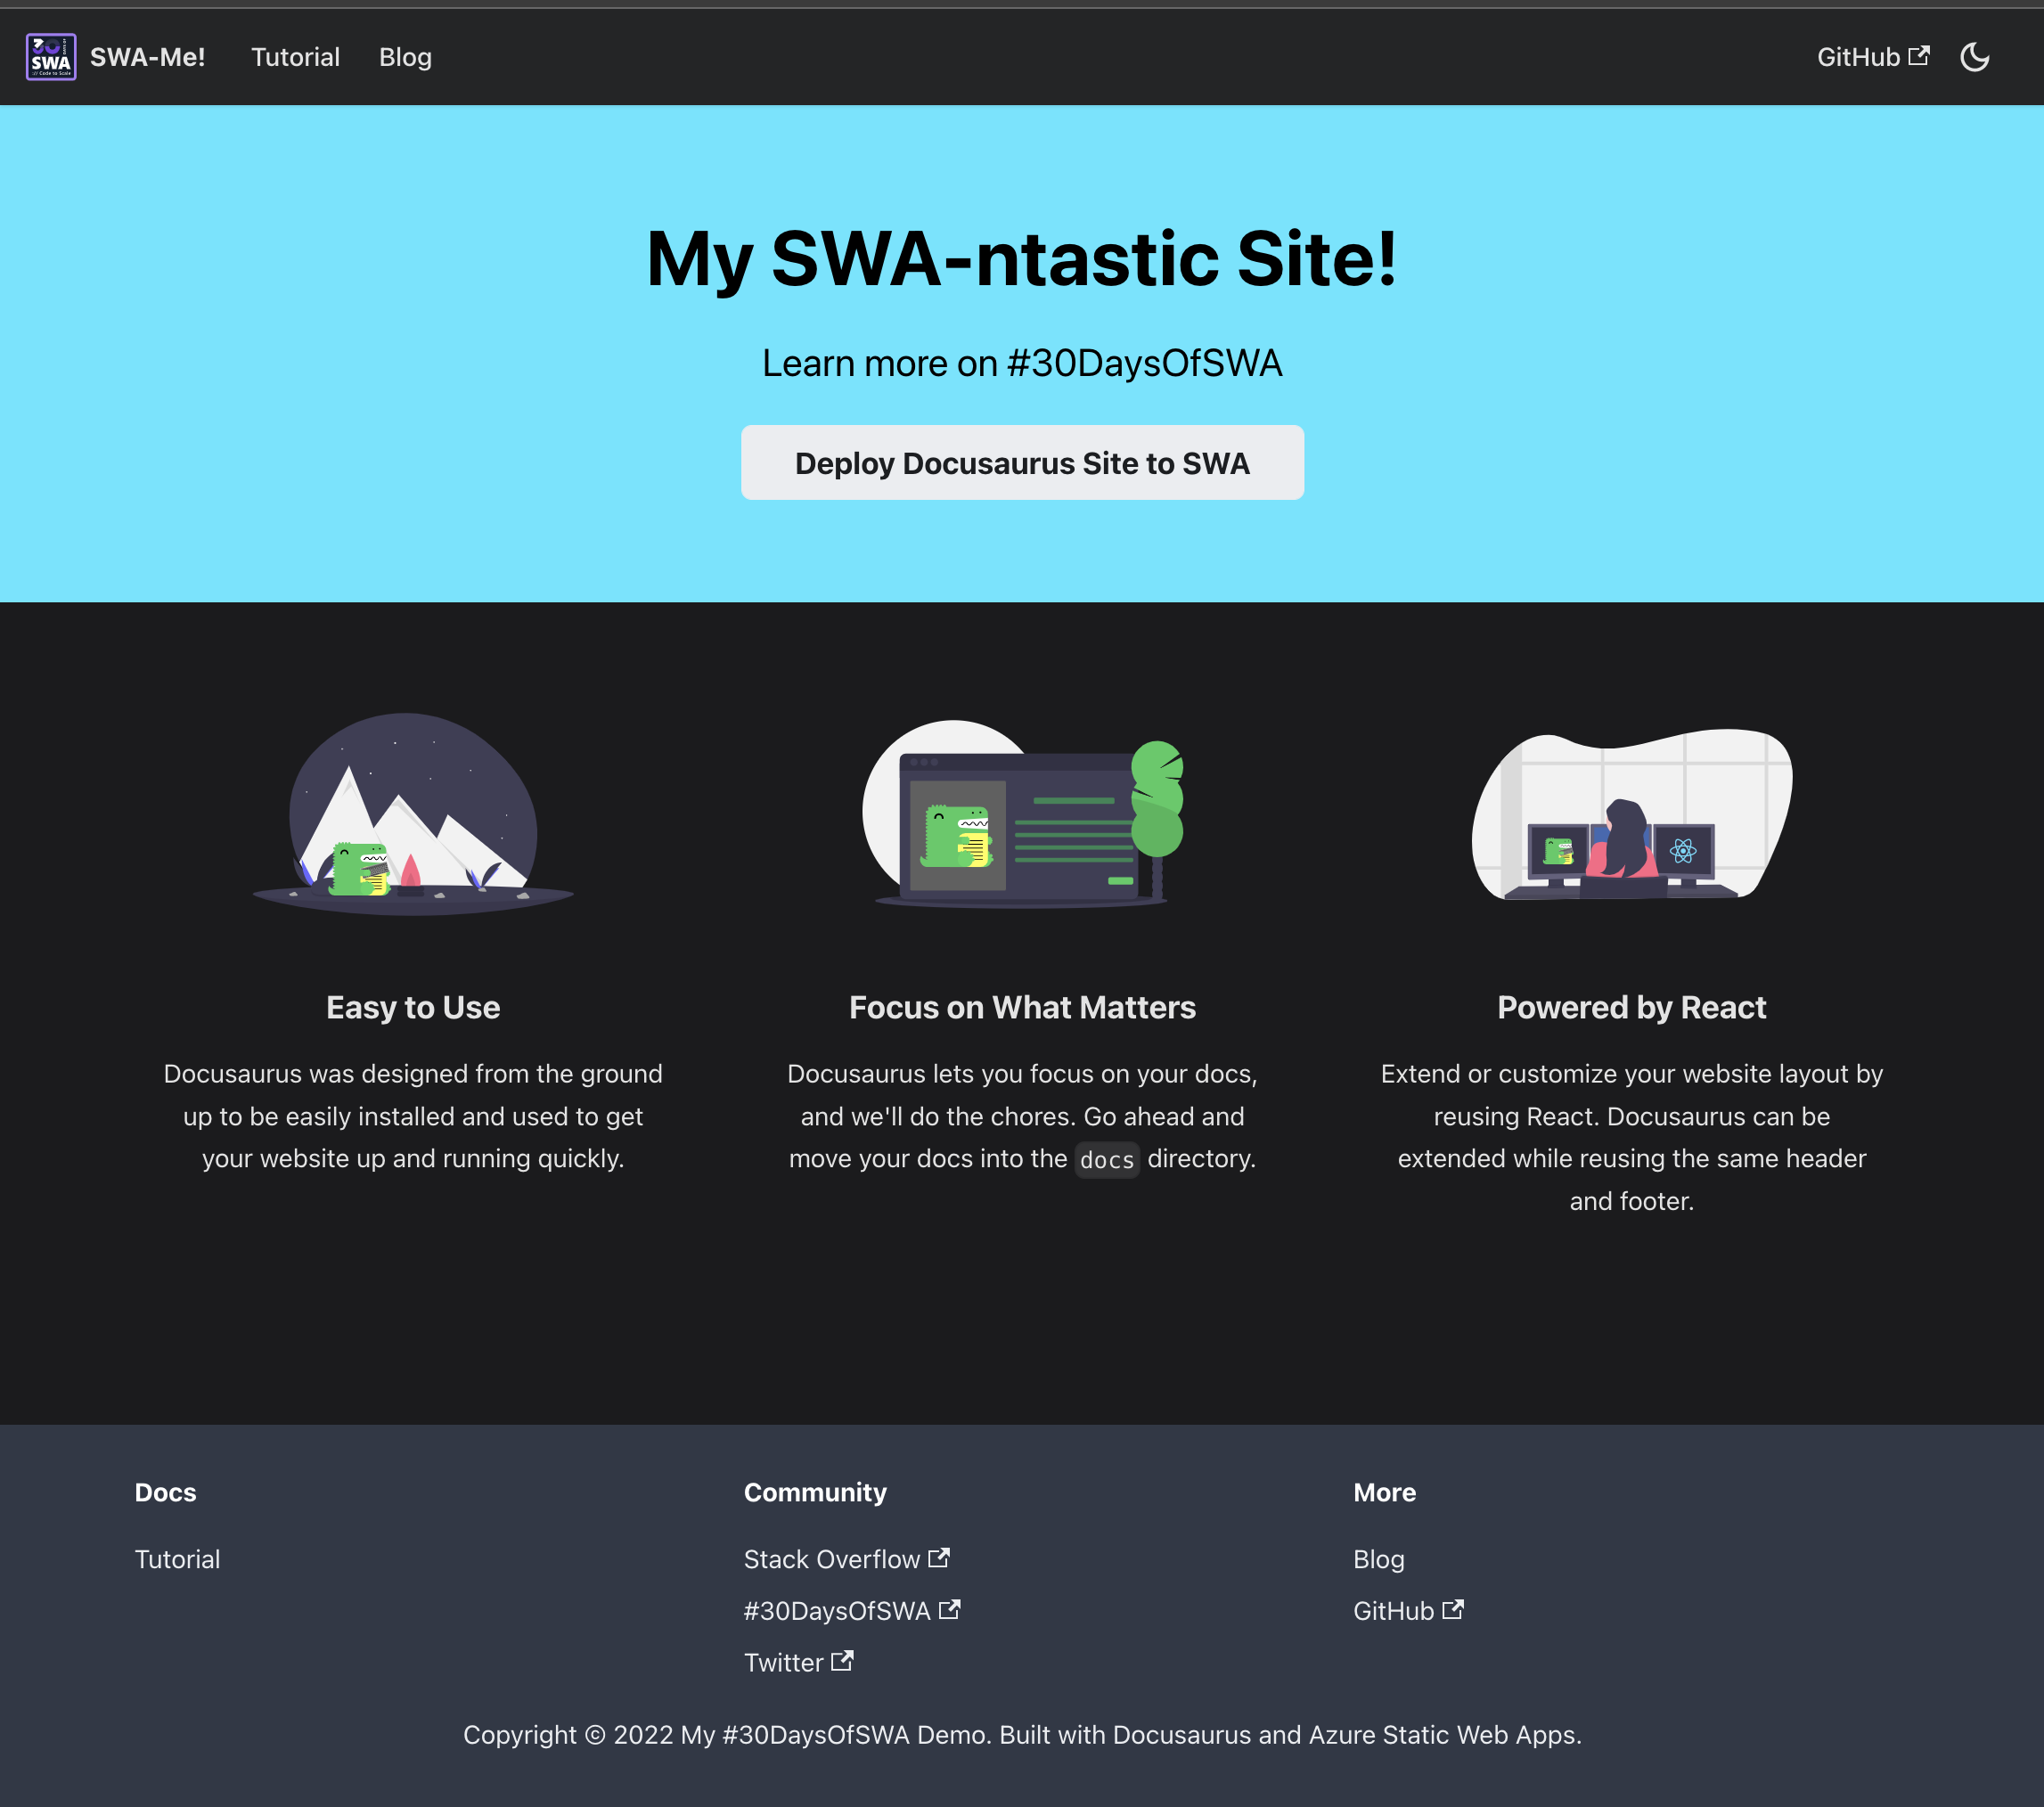 |
🎉 Check it out: The site is live on Azure Static Web Apps
Exercise
You saw a few things I did to customize the site. Now it's your turn! Here are a few challenges you can try out:
- Complete the tutorial to deploy your own site!
- Try Docusaurus customization: add an MDX component!
- Try SWA customization: add an API to fetch content!
- Try SWA customization: add auth using Twitter - use it!
Resources:
- Docusaurus - documentation
- Azure Static Web Apps (SWA) - documentation
- #30DaysOfSWA - guide tour to SWA.